幫我們的粉絲專頁按個讚!
Visual Studio Code ( vscode ) 是一款由微軟開發且跨平台的免費原始碼編輯器,想隨身帶著熟悉的開發環境該如何獲得呢? 下載免安裝版本即可? 事情沒有想像中如此,畢竟通常會遇到環境變數之類的設定問題。
本文演示在 Windows 作業系統下實現免安裝版本變成真正可攜帶
準備一支 容量堪用的隨身碟 例如 USB3.2 Gen1 64 GB 可以再大容量 ( Option )
將隨身碟製作成 Ventoy 開機隨身碟 ( Option )
現在就教學如何擁有免安裝 vscode 與 git 結合
下載 7-zip (選用) 推薦直接安裝 比內建的解壓縮稍好用一點
首先當然是下載 vscode

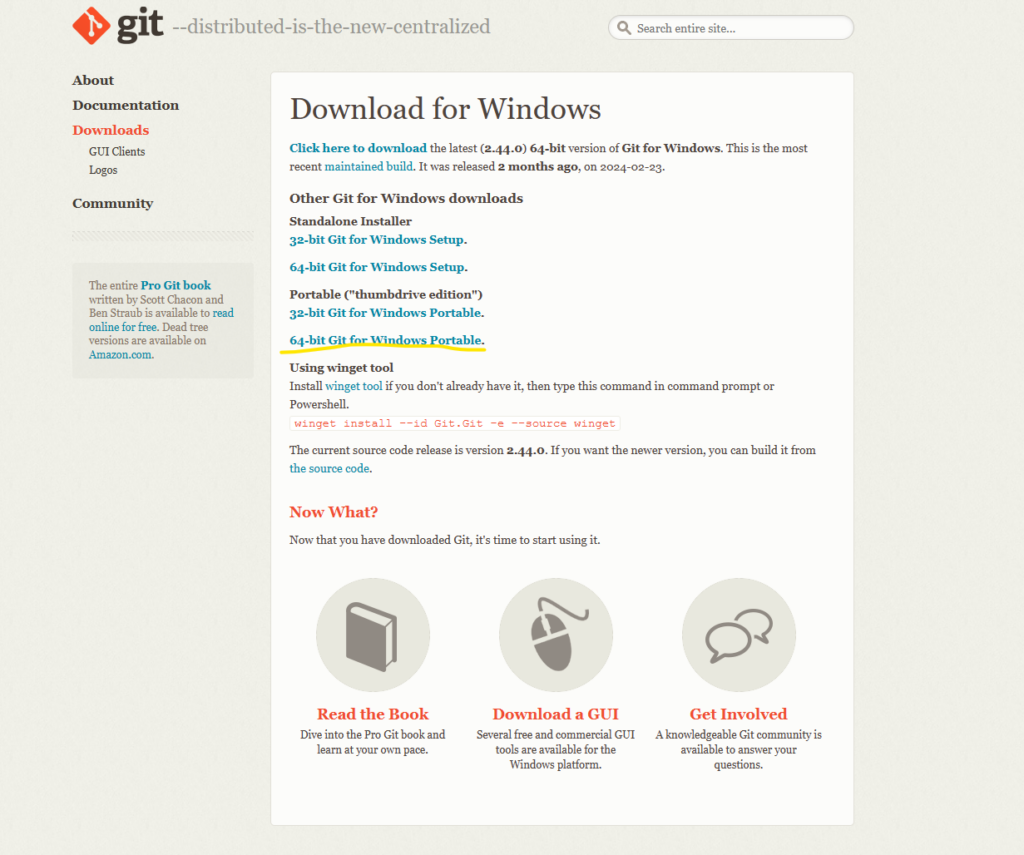

如上圖可以看到已下載的 vscode 與 git 免安裝版本
解壓縮檔案至隨身碟中 小編習慣將可攜帶 APP 建立一個資料夾


並新建一個資料夾於 Apps 內 叫 vscode 即可
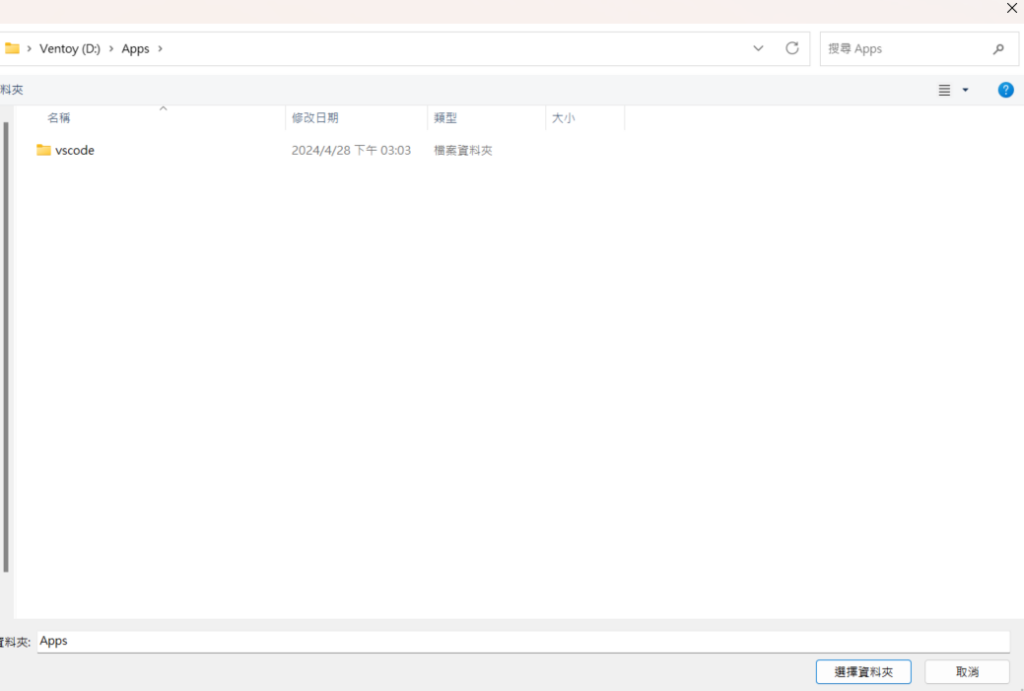
解壓縮 git 到
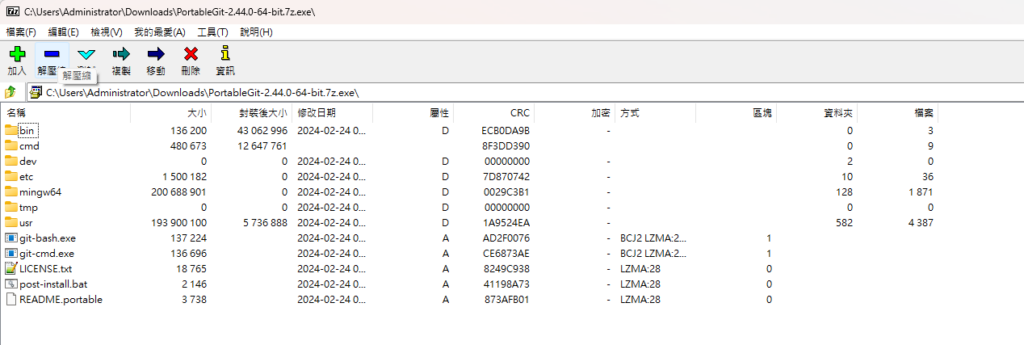
想要的位置吧 例如 隨身碟內 vscode tools 建立一個資料夾 git 解壓縮至 git 裡面

等待一下

進入 vscode 資料夾 建立一個資料夾 data 內在建立兩個 資料夾
一個是 extensions
一個是 user-data

看名稱就知道是放擴充工具與使用者環境資訊的資料夾
都建立好後就可以開始打開 vscode


開始設定環境中文化與 git 結合 按 ctrl + Shift + x 切換到 extensions 搜尋 chinese

將語言包安裝好後右下角要按 Change Language and Restart

就會看到已中文化

現在來設定 git 結合

進入 左上角 檔案 喜好設定 設定

詢找 git path 並設定 點選 在 settings.json 內編輯


雙冒號內填選位置例如 D:\\Apps\\vscode\\tools\\git\\bin\\git.exe 這步驟很重要小編卡了很久

按 ctrl + s 存檔 並重開 vscode

即可開始使用啦

推薦可以導入 AI Extensions 工具協助編輯程式語言
例如對岸開發的 fitten code

右下角需要登入 小編是使用維信登入

或
codegeeX (暫不支援台灣電話號碼註冊)

或
ChatGPT


擇一即可
startgo
由此開始漫遊雲
分享勝過獨自擁有


