幫我們的粉絲專頁按個讚!
在 RouterOS 上將特定裝置使用 VPN 進行傳輸
本人已經使用 Blokada 提供的 VPN 服務一年多。這家服務商最多只支援5台設備同時連線,但我手上有超過5台需要使用 VPN 服務的裝置
因此,我計畫在路由器上進行設定,並使用策略路由的方式,將特定裝置的流量通過 VPN 進行傳輸
前情提要
如果你想在 RouterOS 上安裝 VPN 服務商提供的 WireGuard,請先參考以下文章
[筆記] 在 RouterOS 上安裝 VPN 服務商提供的WireGuard 設定檔
讓我們開始吧
在這個情境中,我使用標記路由(mark routing)的方法,先對特定流量進行標記,然後透過路由的方式將這些標記的流量導向 WireGuard Interfact
接下來前往 IP>Firewall>Address List>add
首先,我們需要建立一個要經由 VPN 的裝置 IP 的清單

如果有多台裝置的需求,可以參考以下的圖片範例

接下來前往 Routing>Tables>add
新增一個標籤,稍後會供給 mark routing 使用

接下來前往 IP>Firewall>Mangle>add
在 General 標籤下,將 Chain 選擇 prerouting , Src. Address List 選擇剛剛的列表名稱

然後在 Action 標籤下,將 Action 選擇為 mark routing,New Routing Mark 設定為剛剛新增的標籤

接下來前往 IP>Firewall>Filter Rules
尋找一下,看有沒有 fasttrack connect 的規則,如果有請將他 Disable 停用掉,因為如果啟用了 fasttrack connect 的話,那麼 mark routing 會無效

接下來前往 IP>Firewall>NAT>add
在 General 標籤下,Chain 選擇 srcnat , Src. Address List 選擇要經由 VPN 的 IP 列表名稱, Out. Interface 選擇要使用的 VPN WireGuard interface 名稱

在 Action 標籤下,將 Action 選擇 masquerade,這樣做的效果是將發送出去的 IP 從原本的 DHCP IPs 偽裝成相同的 IP

接下來前往 IP>Firewall>NAT>add
這時我們再新增一個NAT規則,這個就看狀況是否需要新增
在 General 標籤下,Chain 選擇 dstnat, Src. Address List 選擇要經由 VPN 的 IP 列表名稱, Protocol 選擇 17(udp),Dst. Port 填寫 53

在 Action 標籤下,將 Action 選擇 dst-nat,To Address 填寫 1.1.1.1

接下來前往 IP>Routes>add
請將 Dst. Address 設為 0.0.0.0/0,Gateway 選擇 VPN WireGuard interface 的名稱,Distance 設為 1,Routing Mark 則選擇先前設定的標籤名稱。

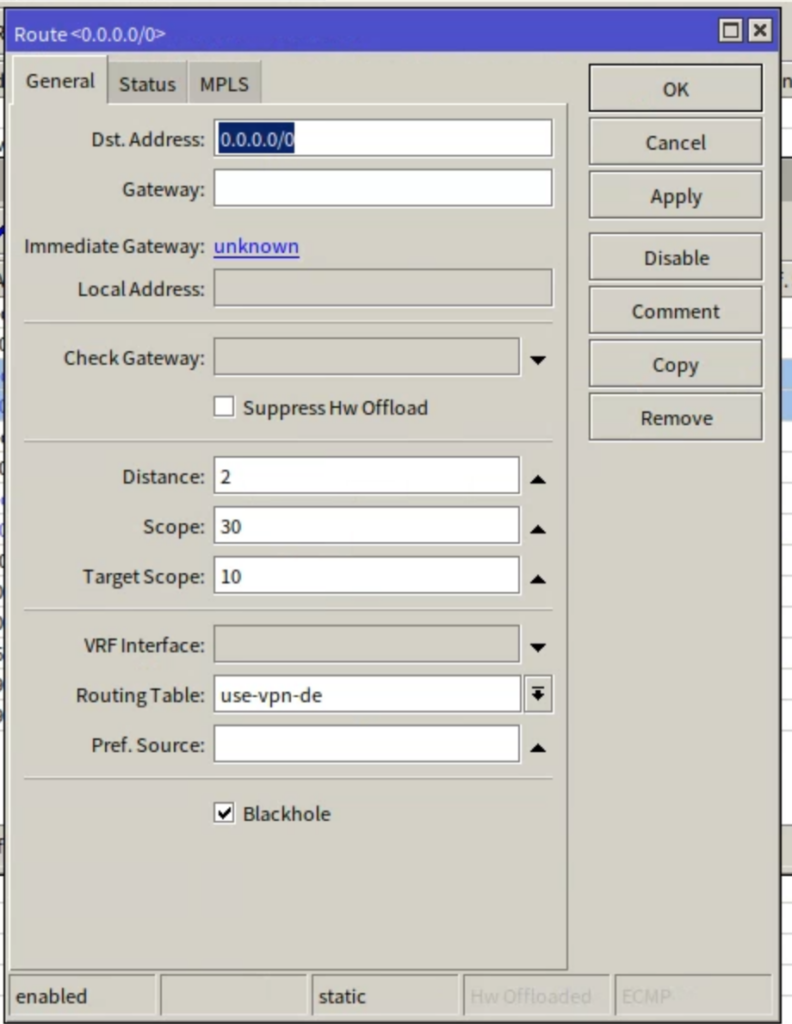
如果希望在 VPN 不可用的情況下限制流量,阻止其通過一般路由進行傳輸,可以再新增一條路由。設定 Distance 為 2,並且將 blackhole 進行勾選

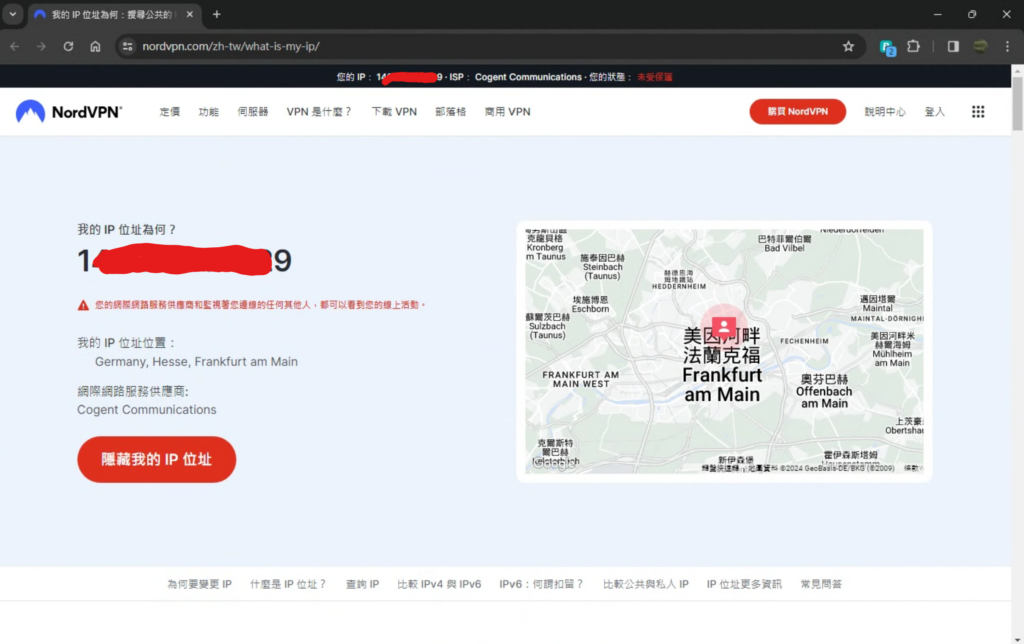
恭喜完成設定!現在你可以進行測試,確保相關裝置是否成功經由 VPN 進行連線

聽說有隻叫做夜空藍喵の夜喵
這位編輯懶到什麼自我介紹也沒打...

![[筆記] 在 RouterOS 上建立 WireGuard VPN,並在 Windows 上進行連線 - 封面圖](https://blog.reh.tw/wp-content/uploads/2024/02/image-800x450.png)
![[筆記] 在 RouterOS 上安裝 VPN 服務商提供的WireGuard 設定檔 - 封面圖](https://blog.reh.tw/wp-content/uploads/2024/02/image-23-800x450.png)

